ABAP Tools - Configure Tool Bridge
Let's take a look at what the Tool Bridge is in the ABAP Development Tools and how you can easily configure it.
Table of contents
What exactly is the Tool Bridge, how is it configured and how do you use it? You will find the answers in this article.
Introduction
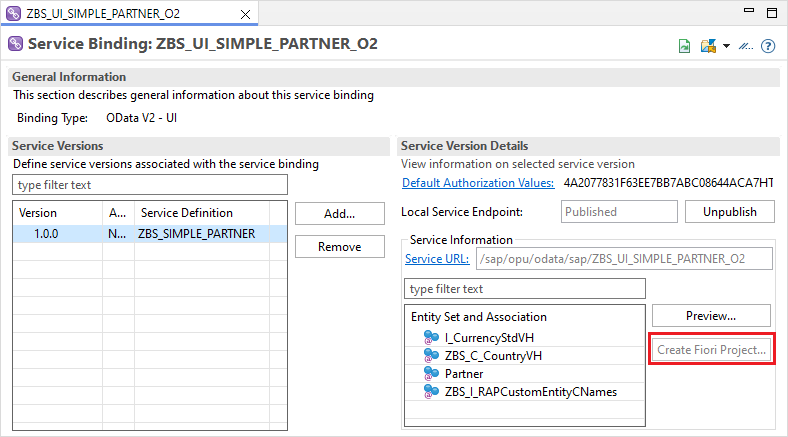
The Tool Bridge was introduced with the current release of the ABAP Development Tools, ADT for short, in version 3.42. This is a simple integration of the Business Application Studio (BAS) or Visual Studio Code (VS Code) into your ABAP development environment. If you already have the current upgrade and call a service binding, you should find this inactive button.
In this short blog we will explain how to set up the Tool Bridge and how it can support you in your developer flow.
Hint: The Tool Bridge is now also available in an S/4 HANA 2023 release. The necessary changes can be implemented using note 3483359.
Configuration
If you want to set up the bridge, you need some information. In this example, we will show the setup with the Business Application Studio, as we also use this as the standard. You do the configuration for each ABAP system. To do this, right-click in the "Project Explorer" and select "Properties". You will then find the correct settings under "ABAP Development -> External IDE Configuration".
We now need three pieces of information to complete the configuration and then test it.
URL
This information should be easy to find, it is the link you click on to start your BAS. It usually looks like this:
https://<SUB-ACCOUNT>.<REGION>.applicationstudio.cloud.sap
Development Space ID
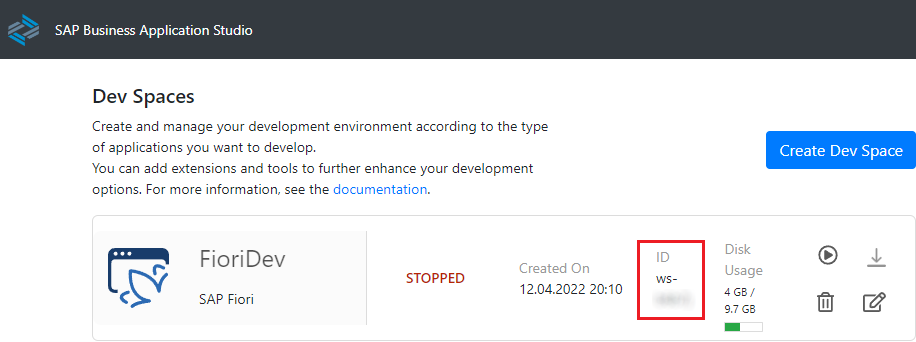
If you clicked on the link above, you will find your various development environments there. The ID you need is in the list there. You should use an environment that you normally use to generate the Fiori Elements applications.
Destination Name
The name of the destination is the same as the one you use to connect the BAS to your system. If you are not sure, you can start the wizard in the BAS and select the system there. This is why the configuration is done per system.
Completion
You can now configure it and enter the desired values in the mask. To do this, activate the radio button under "Business Application Studio" to be able to enter the values.
Test
To test whether the settings are now correctly maintained, there is a "Check Connection" button in the lower part. If you press this, a new tab will open in the browser, which will then call up the Business Application Studio. If everything has worked so far, you are now logged in to the BAS in your corresponding development instance. The message should now appear in the lower part after a short moment.
Practice
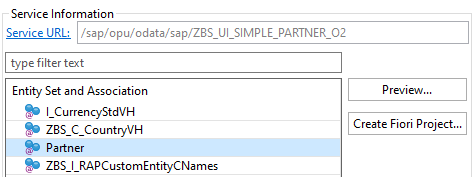
How can you use the Tool Bridge in your development? As mentioned at the beginning, we have to be in the service binding. Now we select the entity for which we want to create the app and this activates the button.
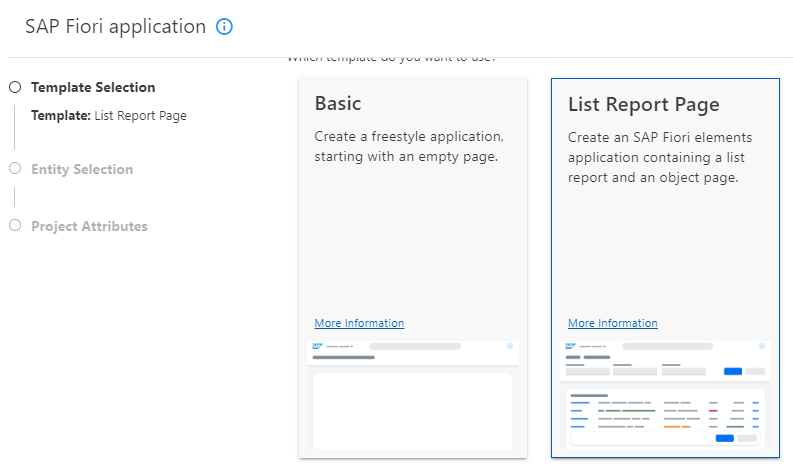
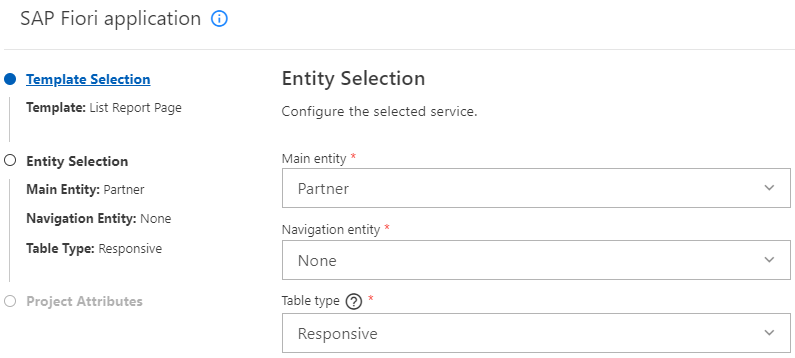
After clicking on the button, the Business Application Studio is started and we land directly in the template wizard for a Fiori Elements application. There we select the floor plan that we want to create.
The selection of the system and the service is no longer necessary, and our entity, which we have already selected in the service binding, is also predefined.
Carry out the remaining configuration steps as usual.
Conclusion
The Tool Bridge is a first step towards integrating development tools and increasing efficiency when developing RAP applications. With a few more features such as background processing, pre-selection of settings and automatic deployment, the Tool Bridge could certainly increase efficiency even further.
