ABAP Cloud - Translation
How are applications and texts translated in ABAP Cloud? Here is a summary and overview of the possibilities.
Table of contents
How do you translate texts without the SAP GUI? In this article, we will look at the translation app that is available on-premise and in the BTP in the ABAP environment and explain the different steps.
Introduction
So far, our applications have been translated using transaction SE63. What happens next with the development objects in ABAP Cloud? Since we do not have an SAP GUI available and the ABAP Development Tools do not provide any functions, we have to use a Fiori application in the system. The "Maintain Translations" app is available here. (F4950), in which we can define translation projects.
Important texts and translations are usually located in message classes and text pools (classes). In addition, annotations must also be translated from metadata extensions that provide labels for fields, buttons and headings. In this article we will use the example application from this article, where we migrated a classic report to a Fiori app.
Create a project
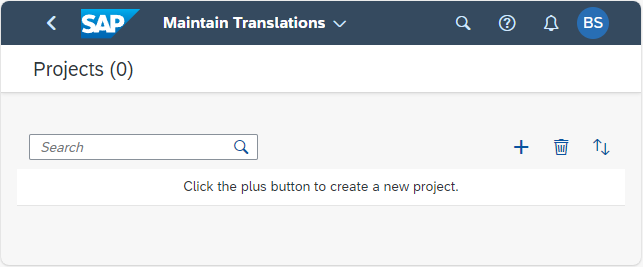
In the first step we call the "Maintain Translations" application. If you have not yet created a project, the app should be empty.
Using the "+" button we create a new project and can define the properties:
- Project Type - Here there is the option of Developer Extensibility (ABAP Cloud) or Keyuser Extensibility (Keyuser Apps).
- Identifier - Here we have to specify a technical identification. The same conventions apply as for a normal ABAP object, since an object of type TRPR is created in the background in the TADIR.
- Description - A short description of the project.
- Package - Source package for determining the packages to be translated. A parent package can also be selected, but not a structure package (SWC).
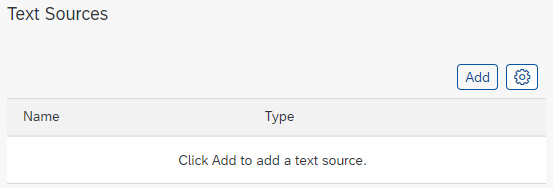
After we have created the project using "Create", the "Add" button is activated in the "Text Sources" area and we can now import objects with text.
With "Add" the selection of translatable objects opens and we can select individual objects or all. You will find the respective source types behind the objects.
Hint: You can also specify the package in which the objects to be translated are located here. The logic pulls all objects below the package into the translation.
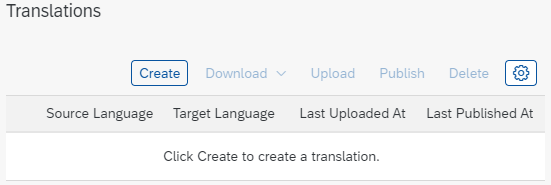
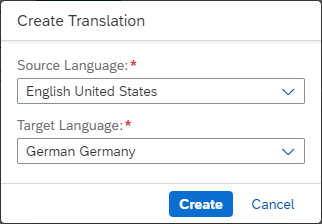
In the next step we have to create a translation in the "Translations" area. Use the "Create" button. Button we create a new variant.
We choose the source language, in this case the language in which we carried out the development. Next we define the target language into which we want to translate.
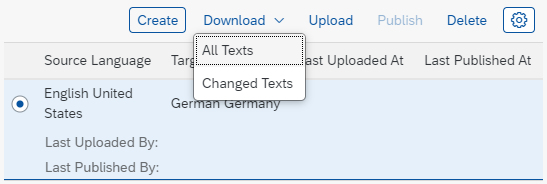
In the next step we download the texts to be translated. To do this we mark our language combination for the translation and can use "Download" load all texts or download only the delta if we have already performed a translation.
Translation
This section is about translating the texts. Unfortunately, SAP does not offer a translation in the form of an application, as SE63 did previously. Therefore, we have various options for translating the XLIFF file.
Translator
The official documentation refers to a translator or translation agency. The generated file is XLIFF (XML Localization Interchange File Format), a standard for translators. Unfortunately not the best choice if you only want to translate the application into English or your native language.
External tools
There are also various external tools available. In the past, for example, we used the Xliff Editor tool to translate the files ourselves. In addition to DeepL, SAP's Translation Hub, for example, can also help with the translation.
XLF Translator
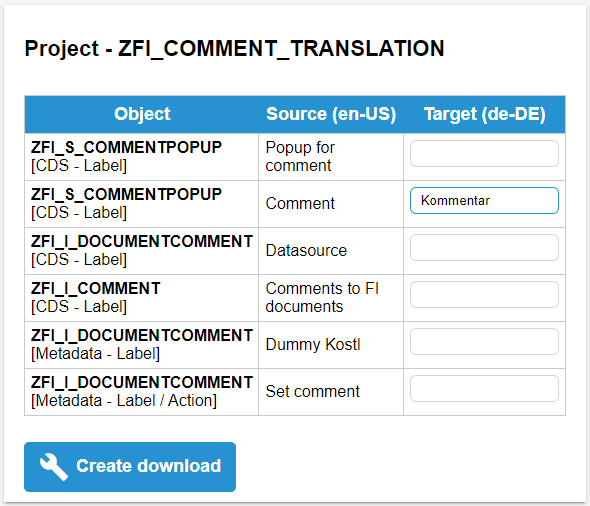
If you don't want to install an application or take out a paid subscription, you can also use an online tool. With this article, our "XLF Translator" tool was also activated in beta. You can use this to upload the XLF file.
The information will then be prepared so that you can see a comparison of the individual texts and some information about the source object. You can now start translating the texts.
Hint: After the download has been created, you can download it once; after that it will be deleted from the server. If you need another download, you will have to have the file created again.
Provision
So that we can now make the texts available, we have to upload them again in the "Maintain Translations" app. To do this, we switch to the application and select the translation. We can now upload the file back into the system.
Finally, we have to press the "Publish" button so that the translations are made available. The texts are normally assigned to a transport request and transported through the system landscape.
Conclusion
Translating applications no longer requires transaction SE63, but unfortunately there is currently no successor tool available in the system and you have to choose between the different variants.
More information:
SAP Help - Maintain Translations
